Barcode Labels Wizard in MS Access
Create Barcode Labels using Microsoft Access Label Wizard
- This tutorial shows how to use the built-in Microsoft Access Label Wizard to create a page of Code 128 barcode labels
- Watch the video, or follow the steps below
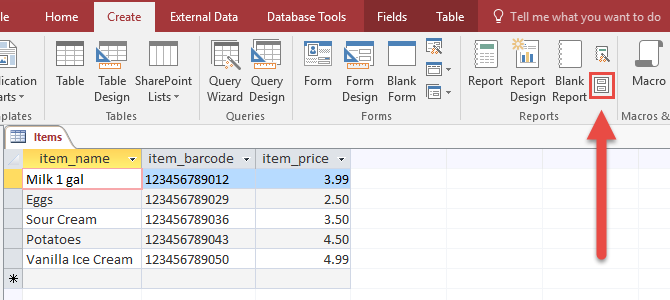
Step 1. Open Labels Wizard
- With your data table selected, navigate to the Create tab, then under Reports section select the Labels Wizard icon.
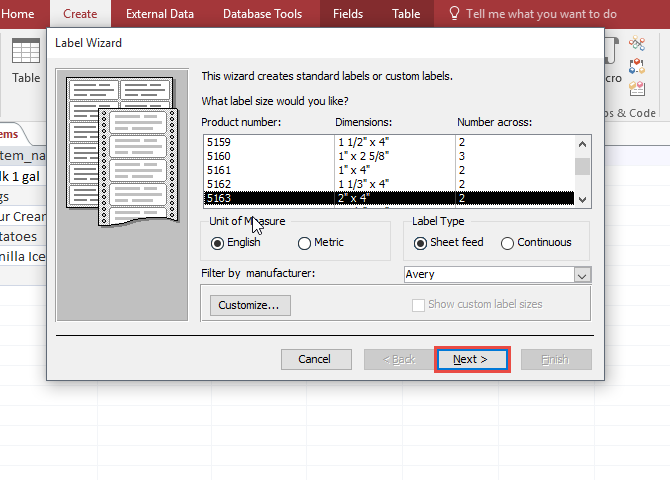
Step 2. Edit Labels Using Label Wizard
- In this example, we are using the Avery 5163 label.
- Click Next
- Use the Default options
- Click Next
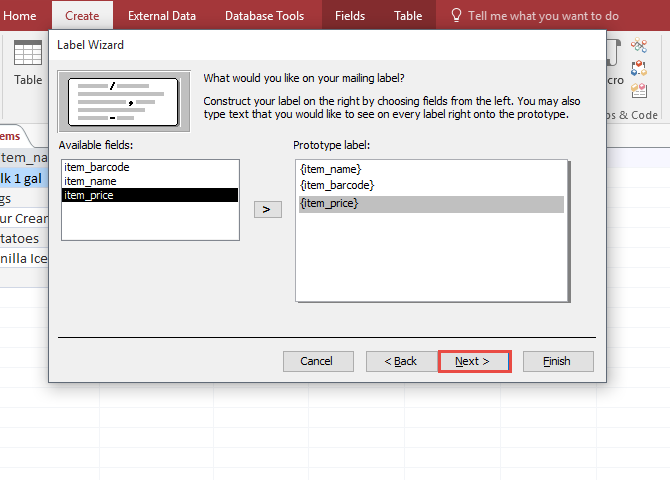
- Add available fields into the label using the > button.
- Important Note: After pressing >, press ENTER to make the next field go on a new line.
- Click Next
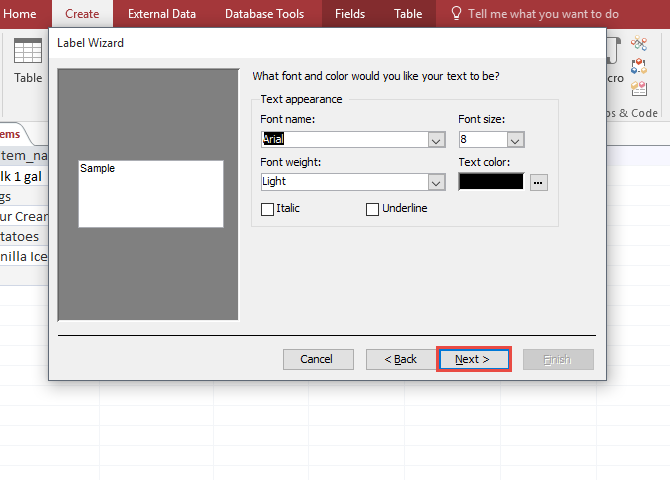
- Use the Default options.
- Click Next

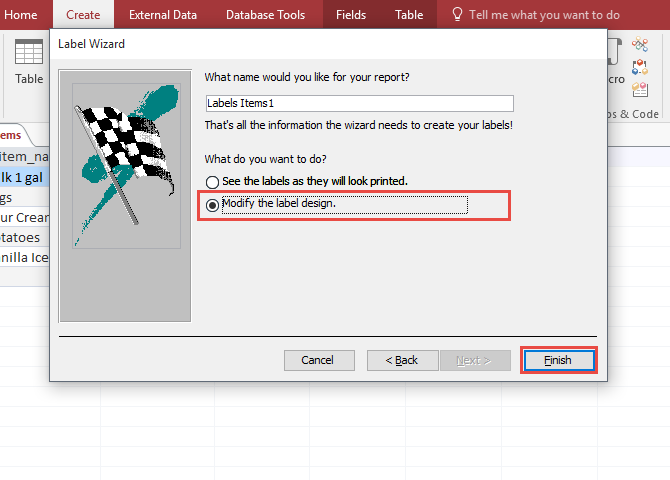
- Select Modify the label Design radio button.
- Click Finish to complete the Label Wizard.
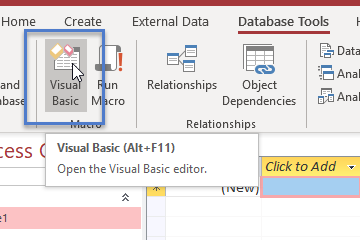
Step 3. Import module with barcode functions.
- Click on Database Tools tab > Visual Basic (or press Alt + F11).
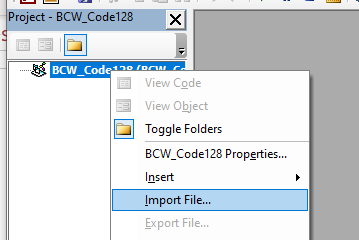
Right-click on the database name and select "Import File"...
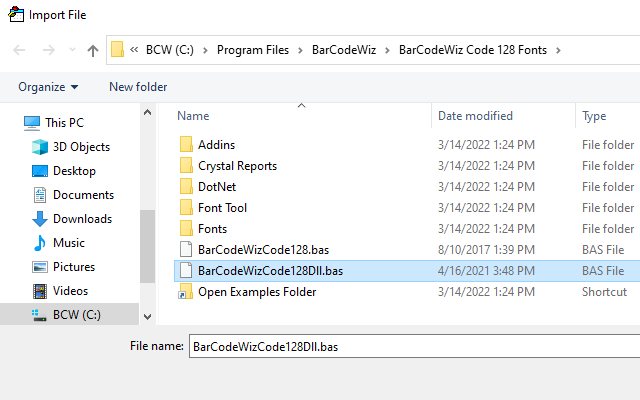
- Select BarCodeWizCode128Dll.bas.
- The default location of the file is:
C:\Program Files\BarCodeWiz\BarCodeWiz Code 128 Fonts\BarCodeWizCode128Dll.bas
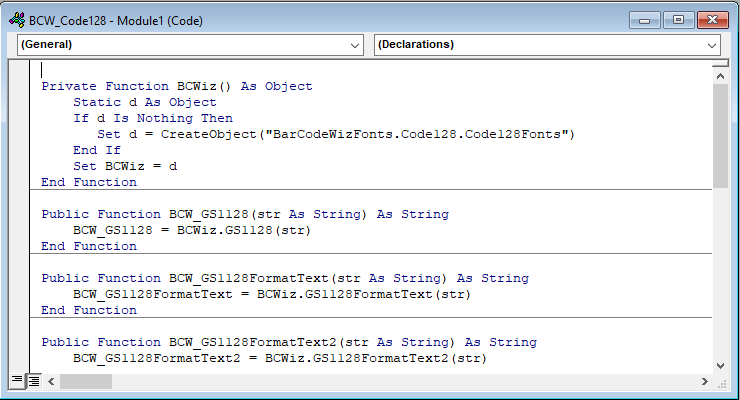
- The following module should now be part of the Access file.
Step 4. Edit Report Record Source
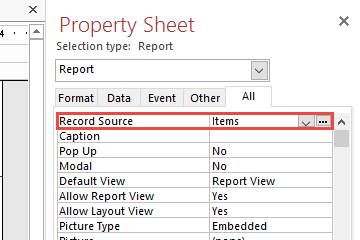
- Under the Design Tab, in the Tools Section, click on Property Sheet.
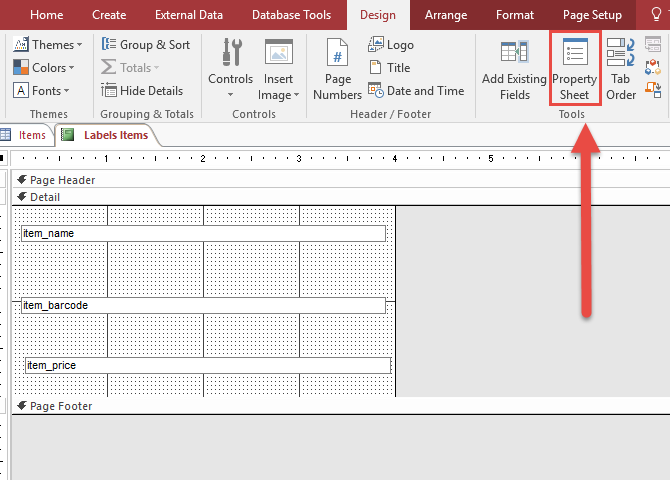
- Set the Record Source to the data table
- In this example, the Data Table selected is Items
Step 5. Update Barcode Textbox Properties
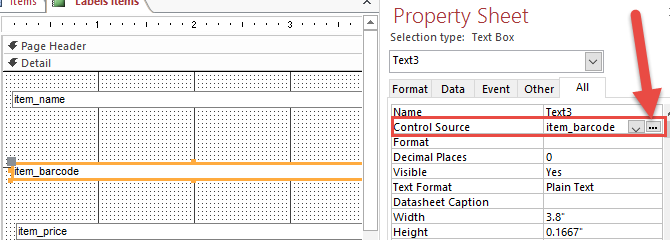
- Select the item_barcode field in the design view, and set the control source by pressing the . . . button.
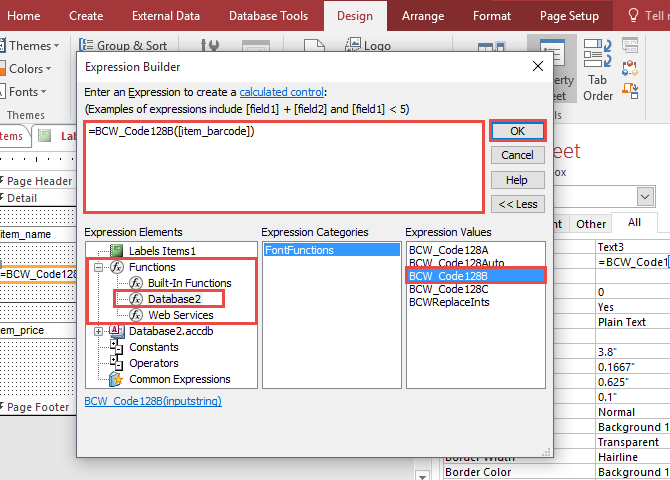
- In the Expression Builder, navigate to Functions -> Database2 - > Font Functions and double-click on desired Code128 expression value.
- Note: Before you double-click an expression value, make sure the Entry box is empty.
- In this example, we are using Code128B expression, =BCW_Code128B()
- The data column from the items table added earlier is item_barcode, therefore, the full expression syntax is the following: =BCW_Code128B([item_barcode])
- Click OK
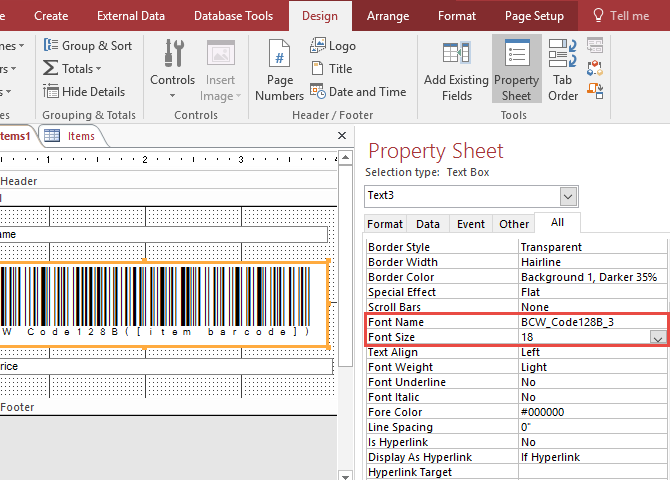
- Again, select the item_barcode field.
- Set the Font Name to a BarCodeWiz font of your choice, In this example the BCW_Code128B_3 font is used.
- Set the Font Size so that the text is readable, In this example the Font Size is 18.
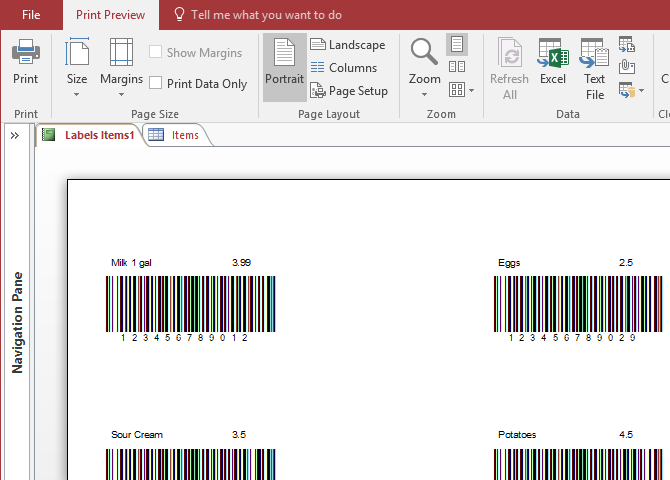
- Finally, navigate to the Design Tab, and under Views select Print Preview.
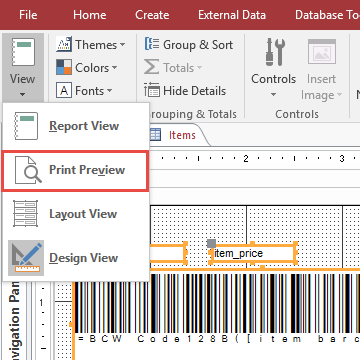
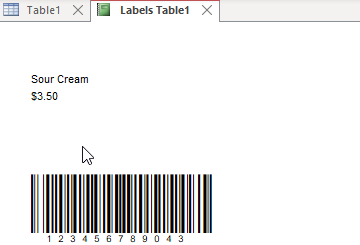
- Completed Labels ready for Printing.