Data Matrix 2D Barcodes in MS Access Query
Easily Encode Data Matrix Barcodes in Access Query
- This tutorial shows how to encode the barcode value directly in a SQL query.
- The query is based on a data table. It has all the same fields as the table, plus one barcode field.
- The benefit of this method is the query can be used as data source to an Access Report, Form, or even other programs like MS Word or Publisher.
- Any software which imports from an Access database can create Data Matrix barcodes.
Step 1. Import module with barcode functions
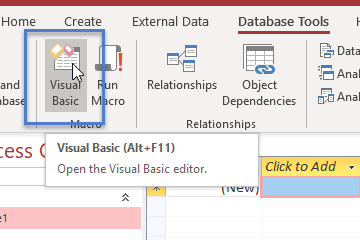
- Click on Database Tools tab > Visual Basic (or press Alt + F11).
- Right-click the database and Import File....
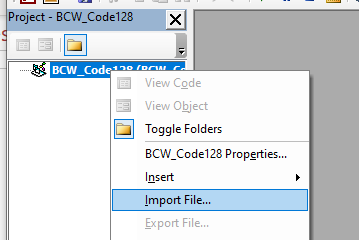
- Select BarCodeWizDataMatrix.bas.
- The default location of the file is:
Program Files\BarCodeWiz\BarCodeWiz Data Matrix Fonts\BarCodeWizDataMatrix.bas
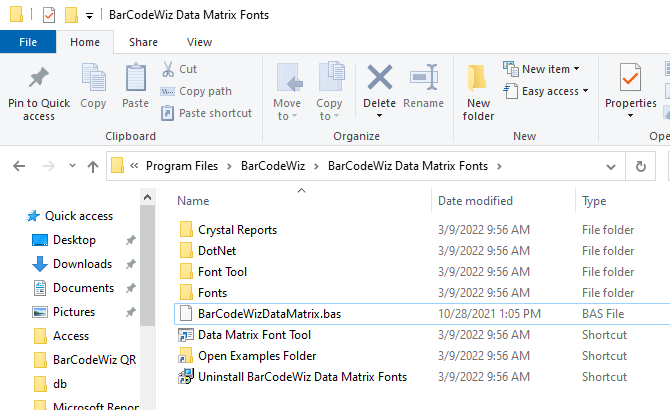
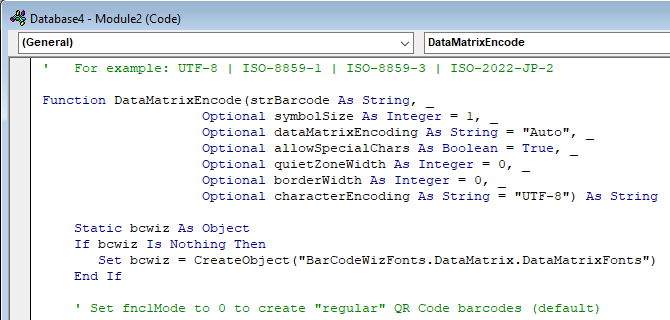
- The following module should now be part of the Access file.
Step 2. Create a new table (or use an existing table)
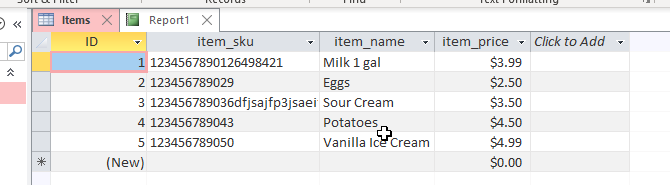
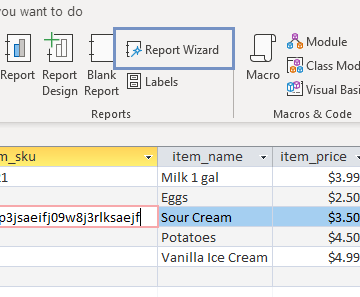
- Create a new table or use an existing table. Our table has the following data:
- item_barcode is a Text field containing the barcode data we will encode.
- item_name is a Text field with item description
- item_price is a Number field with the item's price
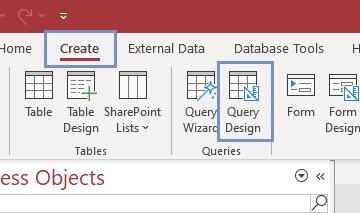
Step 3. Create a new Query
- Click on Create tab > Query Design
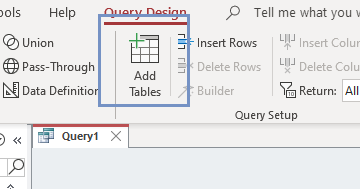
Step 4. Add our table to the query
- Click on Query Design and select Add Tables
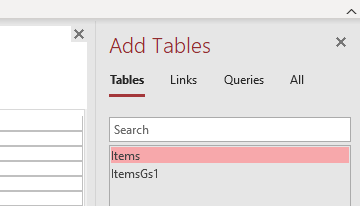
- Double-click on Items in the Add Table dialog, and click Close.
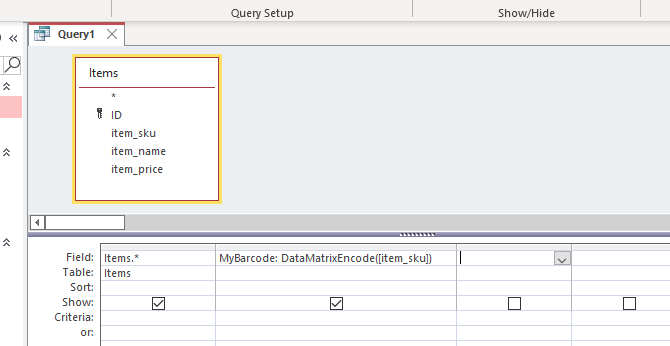
Step 5. Edit Query
- Add all items in the first column: Items.*
- Add a new calculated field to show the encoded barcode:
MyBarcode: DataMatrixEncode([item_sku])
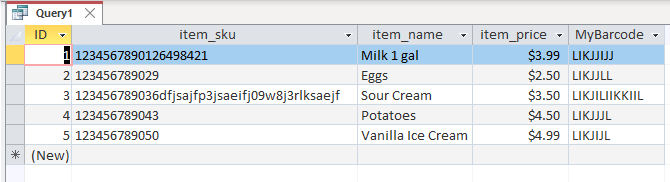
Step 6. Save the Query and preview
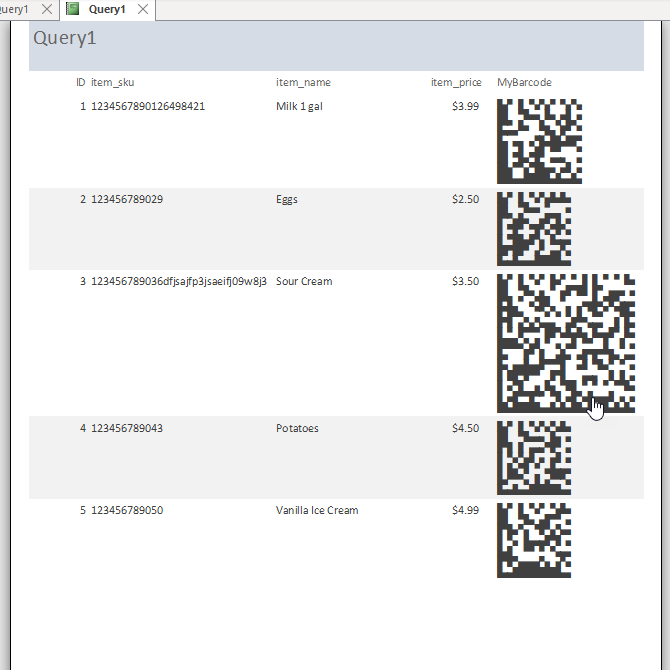
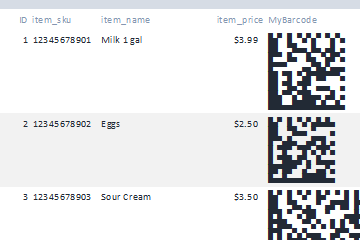
- The field MyBarcode contains the encoded value of item_barcode. The function DataMatrixEncode() encodes the text into Data Matrix barcode.
- This query may be used anywhere you'd normally use the Items table.
- To display it as a barcode, simply change the Font Name and Size in the Report.
EXAMPLE: Using the query as a data source for a Report
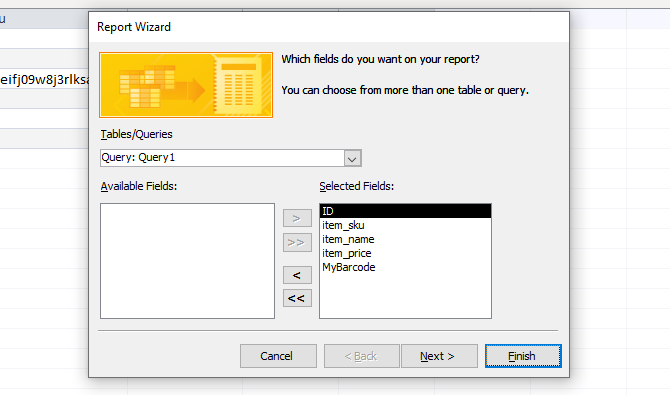
- Create a new report: Create > Report Wizard
- Select the ItemsQuery as the source and select all fields.
- Click Finish and edit the report in Design Mode.
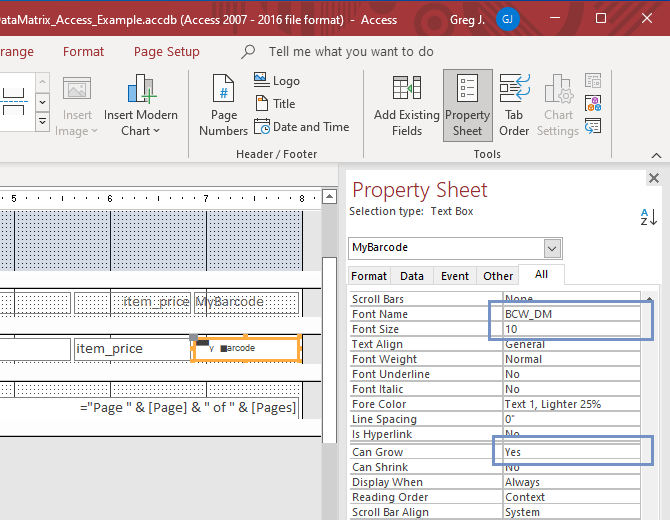
- Switch your report to Design View, by right-clicking it and selecting "Design View".
- Edit the text box (right - click on the text box and select: "Properties") to change the Font Name and Size:
Font Name: BCW_DM
Font Size: 10 - Set "Can grow" to Yes.
- It may be necessary to make the column with barcode a bit wider.
NOTE: For smaller barcodes, you can set the point size as low as 2pt
Ready
- Print Preview of the report.