GS1 Data Matrix Barcodes in SQL Server Reporting Services SSRS
GS1 Data Matrix Barcodes with SQL Server Reporting Services SSRS
- This tutorial shows how you can add GS1 DataMatrix barcodes to SQL Server Reporting Services.
- See the video or follow the steps below.
Before You Begin
- Ensure BarCodeWizFonts.DataMatrix.dll as well as the font files are installed on the server.
- See BarCodeWiz Fonts in SSRS - Installation
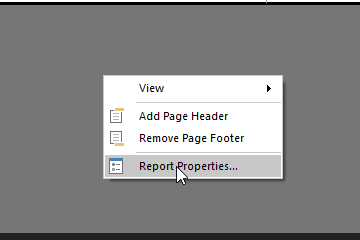
Step 1. Configure Report Properties
- Open Properties Window - right-click in the report background area and click Report Properties...
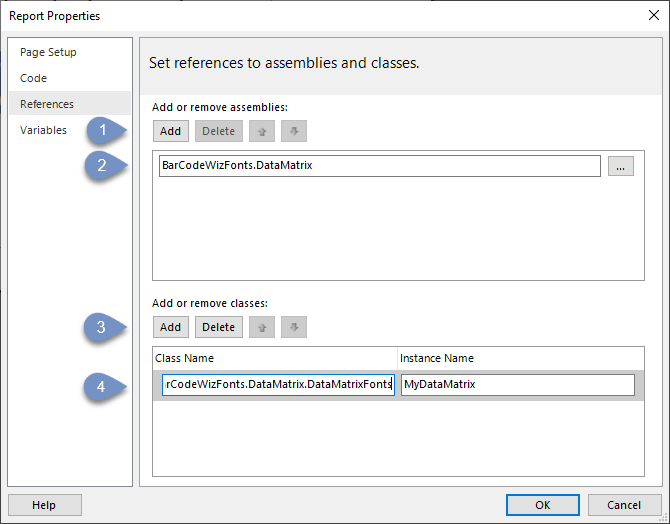
Add Reference:
- In the Report Properties window, select the References section.
- 1) Click Add to add the assembly
- 2) Type: BarCodeWizFonts.DataMatrix
- 3) Click Add to add a class instance
- 4) Type BarCodeWizFonts.DataMatrix.DataMatrixFonts for class name and MyDataMatrix for instance name
Step 2. Prepare your Data
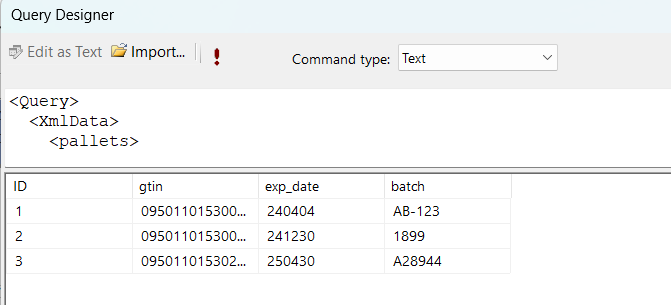
Prepare your DataSets. Feel free to use our (from the example attached to our program) Our data has the following structure.:
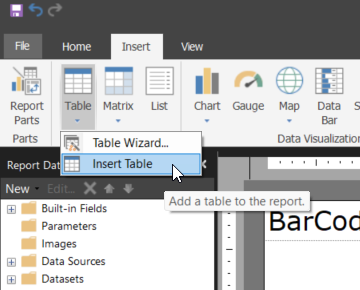
Step 3. Create a Table
- Insert a table into your report
Edit the Expression
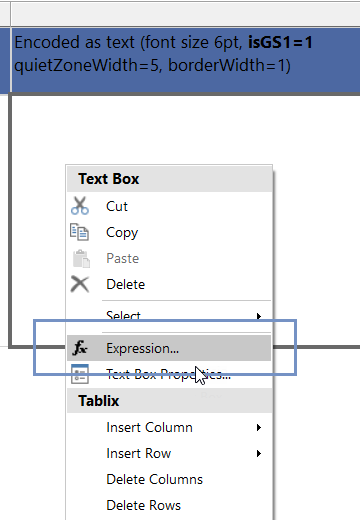
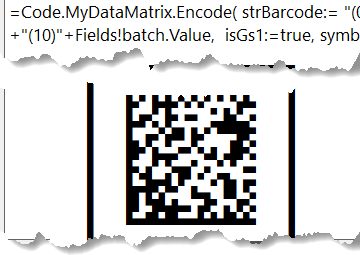
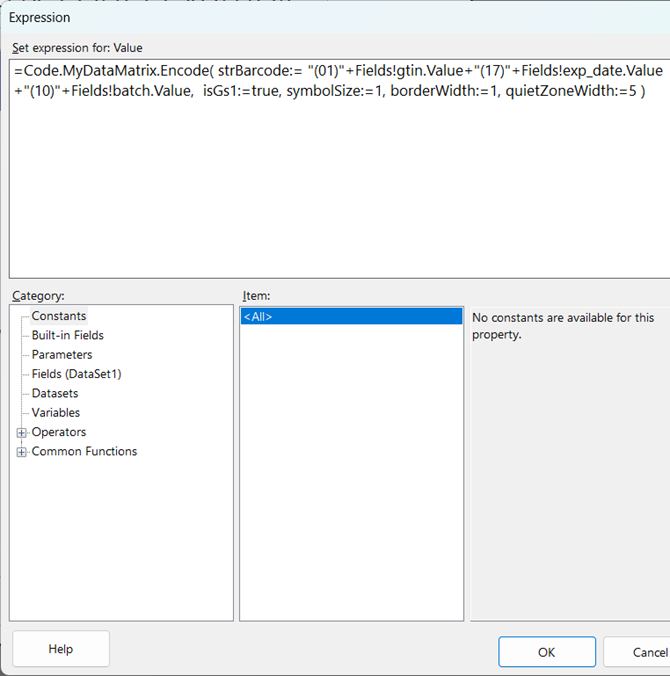
Step 4. Edit the expression as shown
- Enter the following value in the editor
=Code.MyDataMatrix.Encode( strBarcode:= "(01)"+Fields!gtin.Value+"(17)"+Fields!exp_date.Value+"(10)"+Fields!batch.Value, isGs1:=true, symbolSize:=1, borderWidth:=1, quietZoneWidth:=5 )
- NOTE: To properly encode your barcode set isGs1 variable to 1.
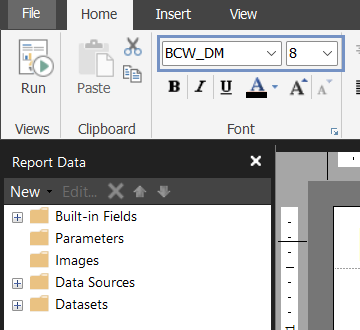
Step 5. Set Font Properties
- Set Font Name to: BCW_DM
NOTE: For smaller barcodes, you can set the point size as low as 2pt
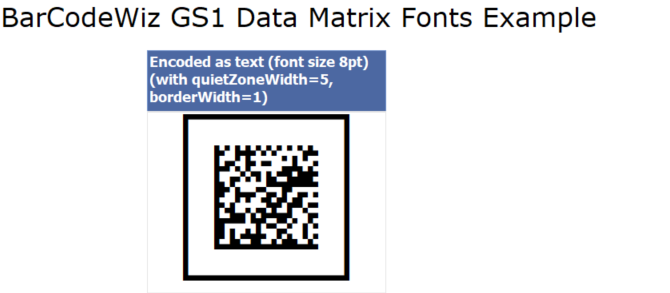
Let's preview the report.
It should look like this: