Data Matrix 2D Barcodes in Crystal Reports 8.5 or Older
Data Matrix Barcodes in Crystal Reports 8.5 or Older
- The following tutorial shows how to create Data Matrix barcodes in older versions of Crystal Reports.
- Crystal Reports 8.5 and older do not support fields and formula outputs longer than 254 characters.
- To encode a Data Matrix barcode, we must split the formula into multiple parts.
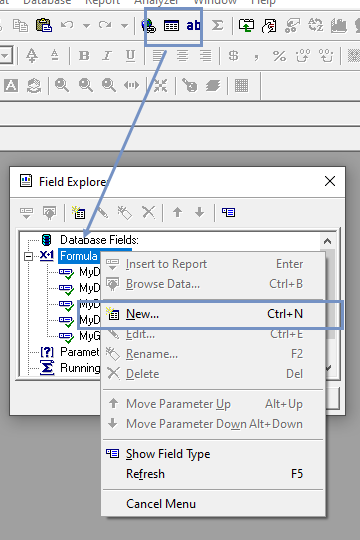
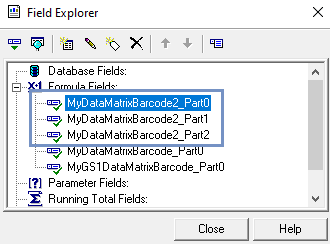
Step 1. Add a new formula
- In Field Explorer right-click on "Formula" and select "New".
- Hint: If you do not see Field Explorer, choose it from Standard Toolbar (see screenshot).
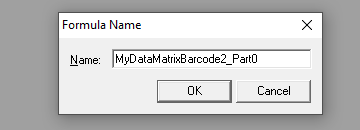
- Name the formula. Remember to add "...Part0" suffix at the end of the formula name.
Step 2. Copy the formula text
- Copy the contents of this text into the Formula Editor:
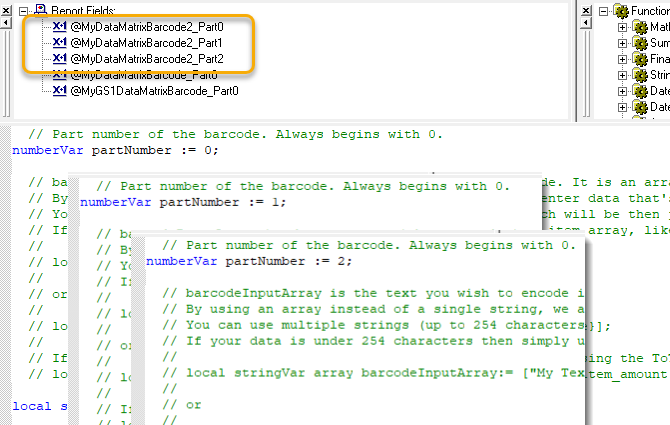
  // Part number of the barcode. Always begins with 0.
local numberVar partNumber := 0;

  // barcodeInputArray is the text you wish to encode in the Data Matrix. It is an array of strings.
  // By using an array instead of a single string, we are able to enter data that's longer than the limit of 254 characters.
  //
  // You can use multiple strings (up to 254 characters each), which will be joined together:
  // local stringVar array barcodeInputArray:= ["Hello World", " and Other Planets"]; // encodes: Hello World and Other Planets
  //
  // If your data is under 254 characters then simply use a single-item array, like this:
  // local stringVar array barcodeInputArray:= ["Hello World"];
  // or
  // local stringVar array barcodeInputArray:= [{my_data_table.item_name}];
  //
  // If your data is a number or date, it must be converted to string using the ToText() function. For example:
  // local stringVar array barcodeInputArray:= [ ToText({my_data_table.item_amount}, 0, "")];

local stringVar array barcodeInputArray := ["Hello World"];

  // Minimum size of Data Matrix symbol.. Valid sizes are 1-30.
  // Square sizes are 1-24 (size 1 equals 10x10 modules per side and size 24 equals 144x44).
  // Non-Square sizes are 25-30 (size 25 equals 8x18 modules, and size 30 equals 16x48).
  // Note: Size of symbol will automatically increase if too small for the data.
numberVar symbolSize := 1;

  // Encoding mode for this Data Matrix symbol. Describes how to best encode the supplied text
  // to achieve smallest symbol size.
  // Possible values are: Auto, Ascii, C40, Text, X12, Edifact, Base256
stringVar dataMatrixEncoding := "Auto";

  // Allows input of special characters in format ^000 where 000 is decimal ASCII code.
  // For example, ABC^009123^013^010 encodes "ABC[TAB]123[CARRIAGE RETURN][LINE FEED]".
  // To encode the actual caret ^, enter it twice: ^^
  // To encode FNC1, enter: ^F1
booleanVar allowSpecialChars := true;

  // Determines whether the symbol is a regular DataMatrix or a GS1-DataMatrix barcode.
  // Set IsGS1 to false to create "regular" DataMatrix barcodes (default).
  // Set IsGS1 to true to create GS1-DataMatrix barcodes.
  // GS1-DataMatrix barcodes require input to be in the format: "(NN)XXXXXX(NN)XXXXXXXXX",
  // where NN is a 2, 3, or 4-digit AI and XXXXXX is alphanumeric data to be encoded.
booleanVar isGs1 := false;

  // Thickness of quiet zone (space around barcode), in number of modules.
  // Note: Minimum quiet zone is 1 module. If you add a border (borderWidth > 0), ensure quietZoneWidth is 1 or larger.
  // Default value is 0 (no quiet zone).
numberVar quietZoneWidth := 0;

  // Thickness of border around barcode, in number of modules.
  // If using a border, ensure quietZoneWidth is 1 or larger.
numberVar borderWidth := 0;

 // Character encoding of your data input.
 // For example: UTF-8 | UTF-16 | ISO-8859-1 | ISO-8859-3 | ISO-2022-JP-2
 // This setting should be set to UTF-16 (Unicode) for Crystal Reports 9 and newer
 // Crystal Reports automatically converts all input (from database fields, strings, etc) into UTF-16.
local stringVar characterInputEncoding := "ISO-8859-1";

 // Character encoding for data encoded in the Data Matrix symbol.
 // The recommended setting is UTF-8, which is the default for the majority of barcode scanners.
 // If you change the setting, be sure the scanner understands it.
local stringVar characterOutputEncoding := "UTF-8";


local stringVar hex := "";
local stringVar xvals := "0123456789ABCDEF";
local stringVar array hexStringsArray := [""];

local numberVar j;

for j := 1 to Count(barcodeInputArray) do
(
    local numberVar strLen := Length(barcodeInputArray[j]);

    local numberVar i;
    For i := 1 to strLen Do
    (
        local numberVar num := Asc(Mid(barcodeInputArray[j], i, 1));
        local numberVar first := Remainder( num,  256);

        hex := hex + Mid(xvals, Int(first/16) + 1, 1) + Mid(xvals, Remainder(first, 16) + 1, 1);

        if Length(hex) >= 254 then
        (
            ReDim Preserve hexStringsArray[Count(hexStringsArray)+1];
            hexStringsArray[Count(hexStringsArray)] :=  hex;
            hex := "";
        );
    );
);

if Length(hex) > 0 then
(
    ReDim Preserve hexStringsArray[Count(hexStringsArray)+1];
    hexStringsArray[Count(hexStringsArray)] := hex;
);

DataMatrixEncodeFromHexArray(partNumber, hexStringsArray, symbolSize, dataMatrixEncoding, allowSpecialChars,
                                            isGs1, quietZoneWidth, borderWidth, characterInputEncoding, characterOutputEncoding);
Step 3. Edit the formula
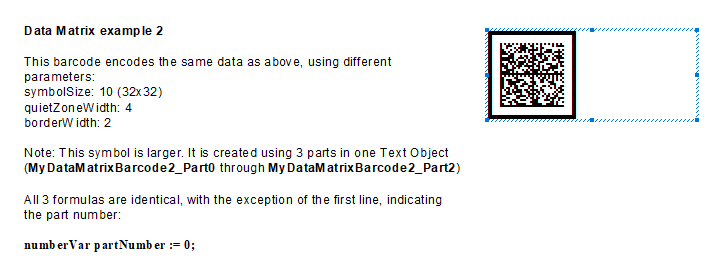
- Replace "Hello World..." with your own data.
- Set other properties (Quiet Zone, Error Correction, etc) now as well.
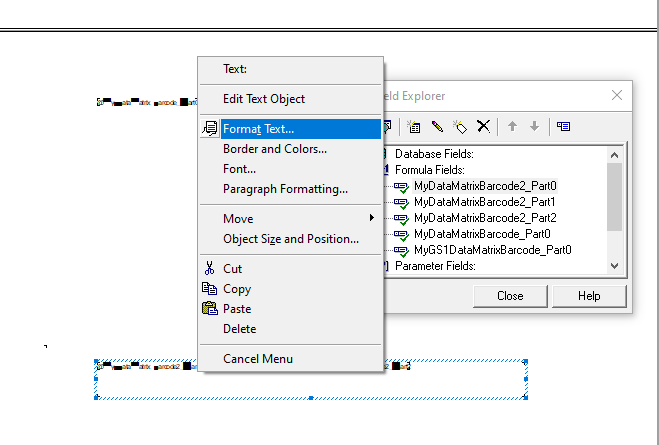
Step 4. Create Copies of Formula
- Create two exact copies of the formula we created in step 3. Add the suffix Part1 and Part2 to formula names, correspondingly.
Step 5. Edit partNumber
- Set partNumber to 1 in formula MyDataMatrixBarcode2_Part1
- Set partNumber to 2 in formula MyDataMatrixBarcode2_Part2
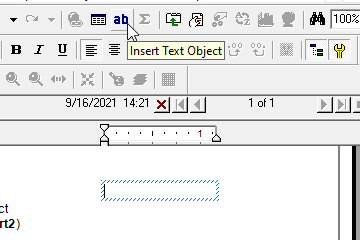
Step 6. Insert a Text Object
- Insert Text Object into your report.
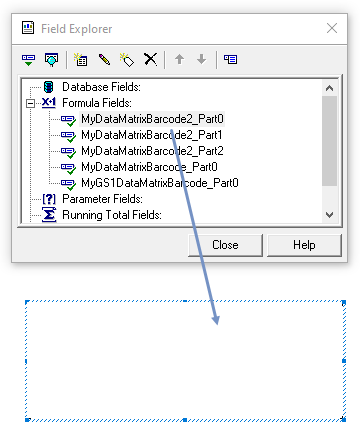
Step 7. Add Formulas to Text Object
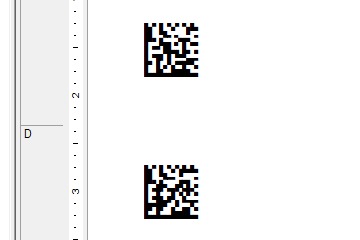
- Drag all three formulas from Field Explorer to the Text Object.
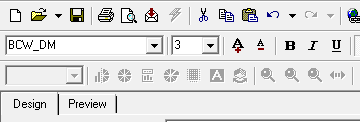
Step 8. Set Font Properties
- Change the font to: BCW_DM and set the point size.
NOTE: For smaller barcodes, you can set the point size as low as 2pt
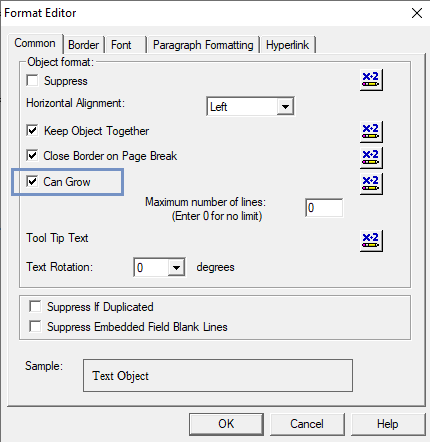
Step 9. Ensure the text object grows (if necessary)
- Right-click and select Format Text...
- Select Can Grow on the Common tab.
That is it! The barcode is generated
- Click on Preview ...