Barcodes in Adobe InDesign Data Merge
- This tutorial shows how to create barcodes in Adobe InDesign using an Excel file as data source.
- Watch the video or follow the steps below.
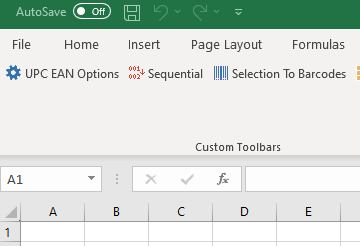
Step 1. Create barcodes in Excel
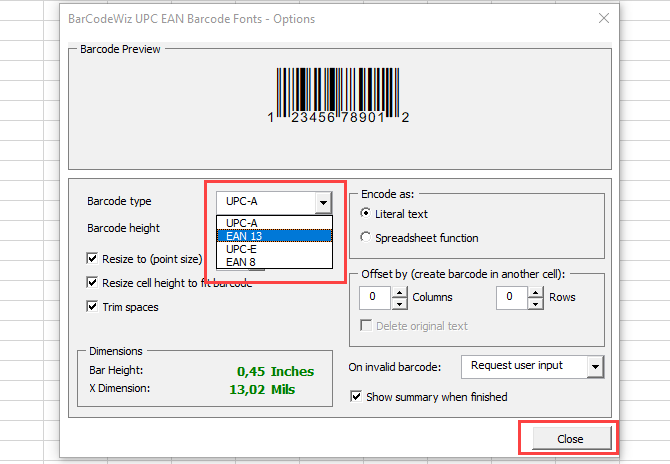
- Click on Addins > UPC EAN Options.
- Select the version of the symbology you want.
- Close the window.
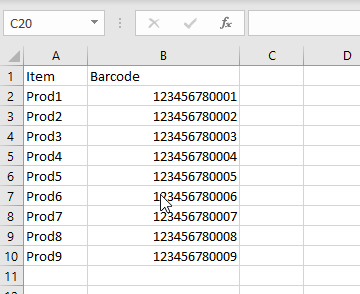
- Open the Excel file with data to convert or enter the values. Our example has the following data:
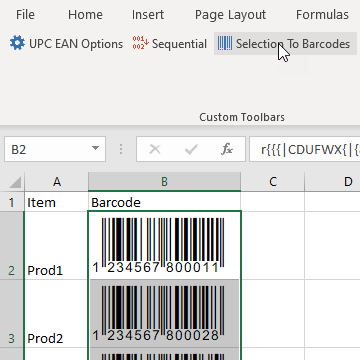
- Using your mouse, select the cells to convert to barcodes.
- Click on Selection To Barcodes.
Step 2. Save the file in CSV UTF-8 (Comma Delimited) format
- Click on File > Save As
- For InDesign versions older than 2022 Select CSV UTF-8 (Comma delimited) and enter the name of the file: Mail Merge Data.csv.
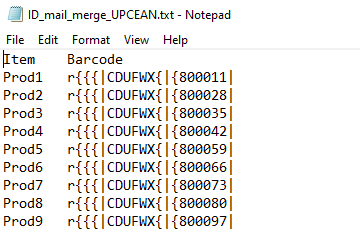
- For exporting for use in Macintosh or for InDesign 2022, select "Unicode Text (*.txt)".
- Contents of our saved file:
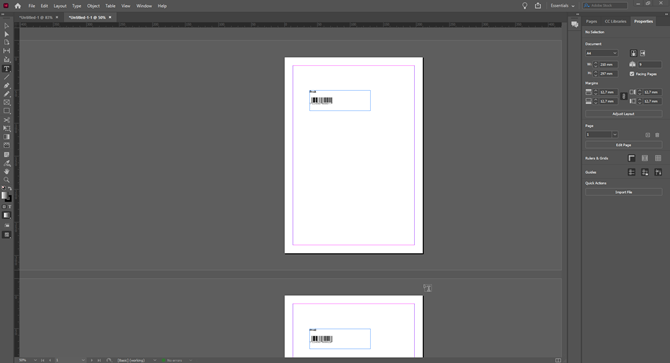
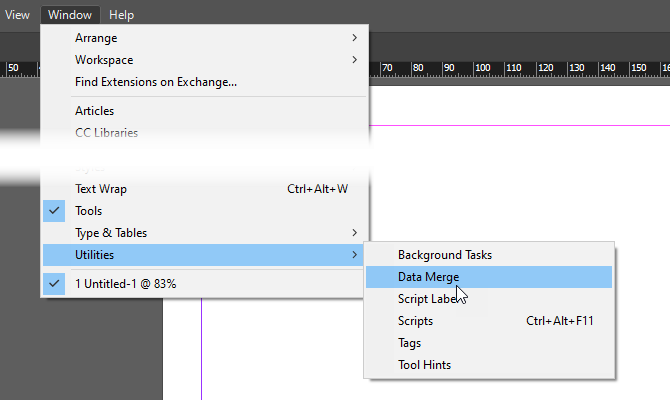
Step 3. Start Data Merge in Adobe InDesign
- Click Window > Utilities > Data Merge
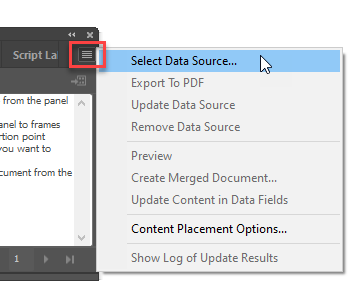
Step 4. Select Data Source
- click the panel menu icon and click Select Data Source...
- Browse for the file we saved in step 2 and click Open.
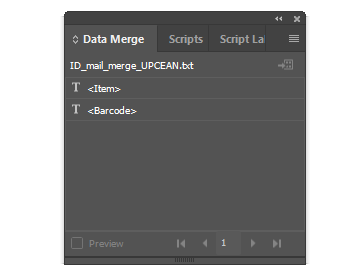
- The fields are now shown in the Data Merge panel.
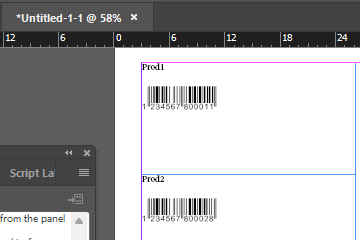
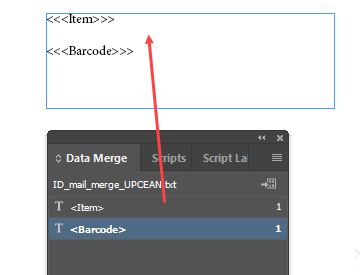
Step 5. Add Data Fields to label
- Drag the field names onto the label area.
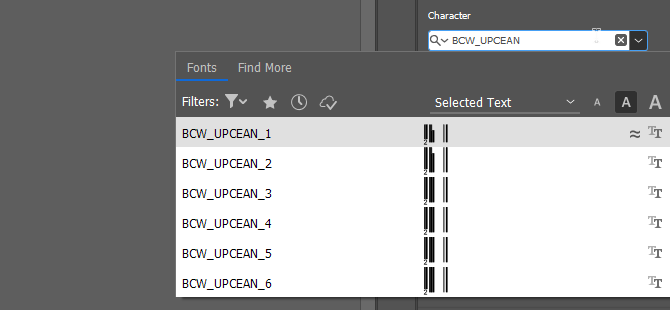
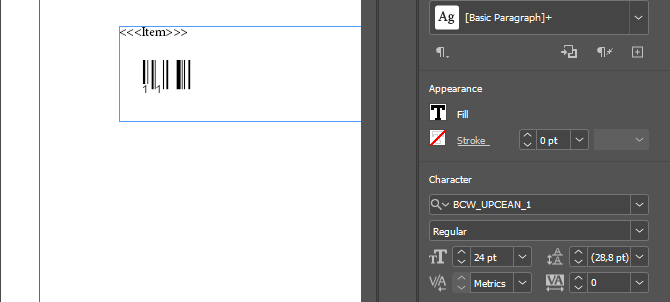
Step 6. Set Barcode Font
- Select the Barcode field on the label and change its Font Name to BCW_UPCEAN_1 and Size to 24 pt
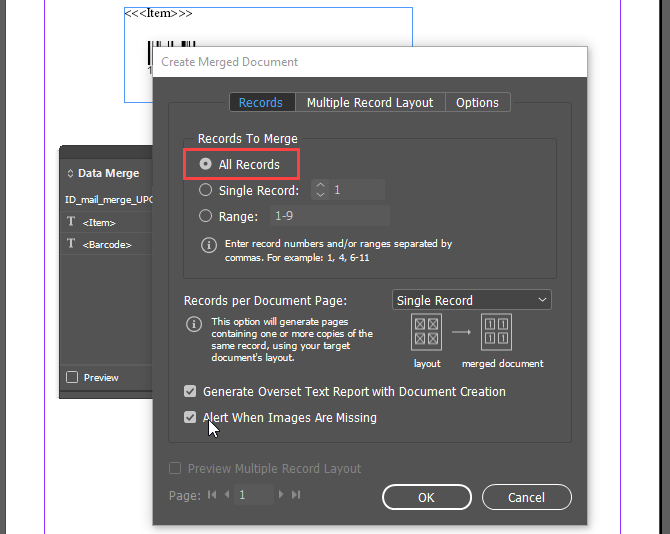
Step 7. Create the Merged Document
- Click on the Create Merged Document button at the bottom of the panel.

- Select which records to merge and click OK. We are selecting All Records here.
Ready!
- The Merge is now complete.