Barcodes in MS Access
- This example illustrates how to use BarCodeWiz ActiveX Control in a Microsoft Access Report.
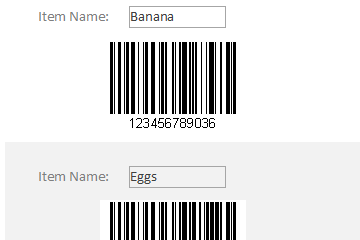
- We are using an already existing inventory table (Items) for barcode data.
- Follow the steps below, simply or watch the video
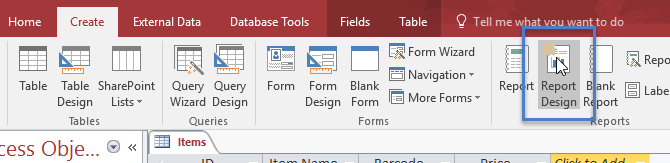
Step 1. Create a new Report
- Click on Report Design to create a new blank report.
- Want to add barcodes to an existing report? Simply open it in Design Mode here.
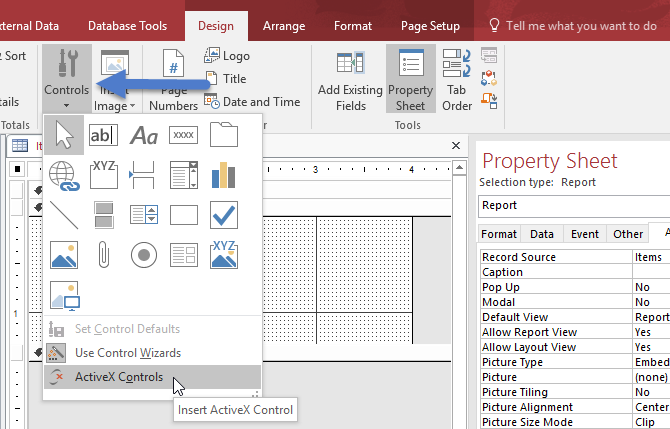
Step 2. Add BarCodeWiz to the Report
- You might see one of two options, depending on size of your MS Access window:
- Option A: Click Design Tab > DOWN Arrow > ActiveX Controls
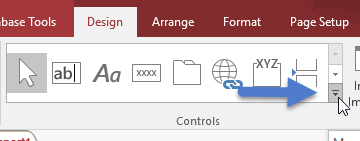
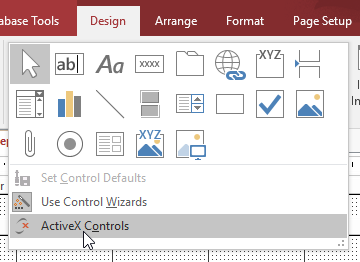
- Option B: Click Design Tab > Controls > ActiveX Controls
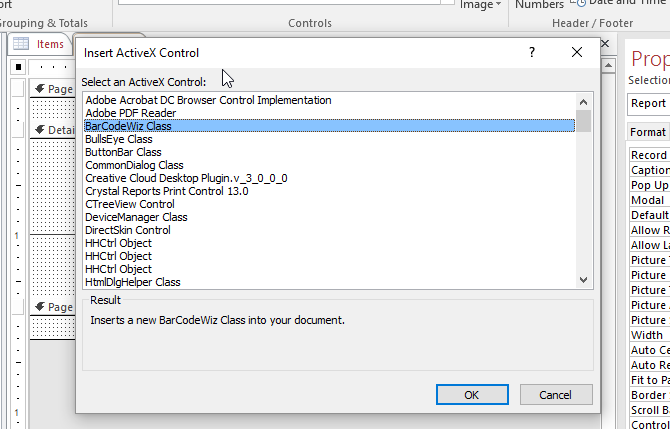
- Select BarCodeWiz Class and click OK
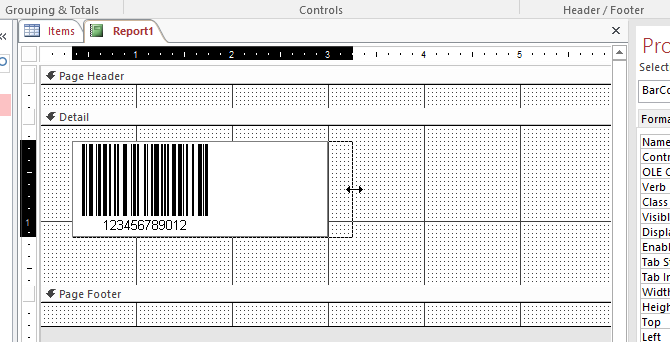
Step 3. Ensure barcode is not cut off
- This step is necessary to prevent unreadable barcodes. It ensures the barcodes are not cut off if the barcode expands past the edges of the control.
- Resize the control to make it as wide as possible (this depends on your data).
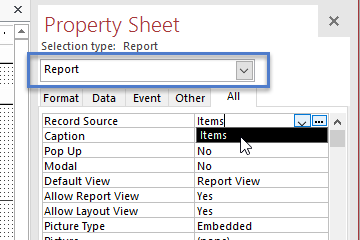
Step 4. Update Record Source of the Report
- In the Property Sheet, select Report.
- Change the Record Source to Items (the name of our table).
Important: Never use the same name for text box as your table field's name.
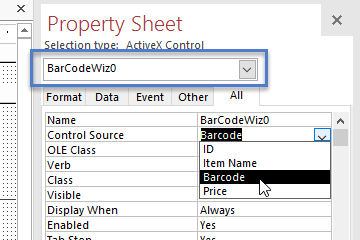
Step 5. Update Control Source of BarCodeWiz
- In the Property Sheet, select BarCodeWiz0.
- Change the Control Source to Barcode (the name of the column with barcode text in our table).
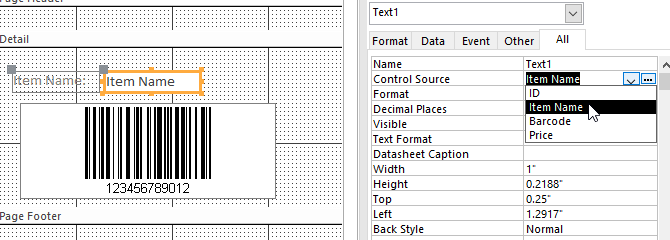
Step 6. Optional: Insert additional text fields into the report.
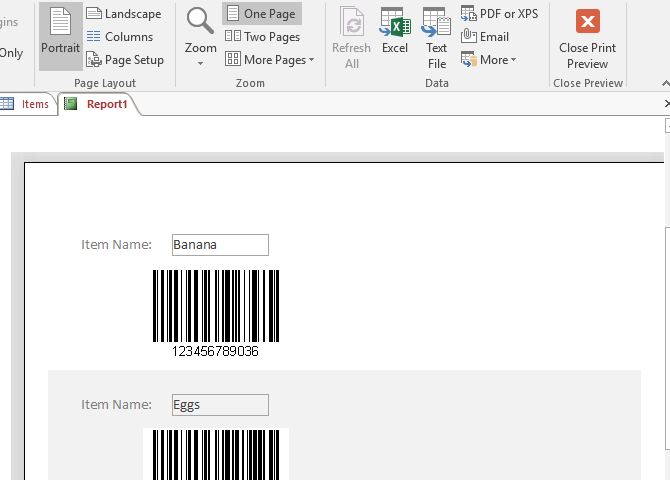
Your report is ready!
- Click on Print Preview or Print to see your report.
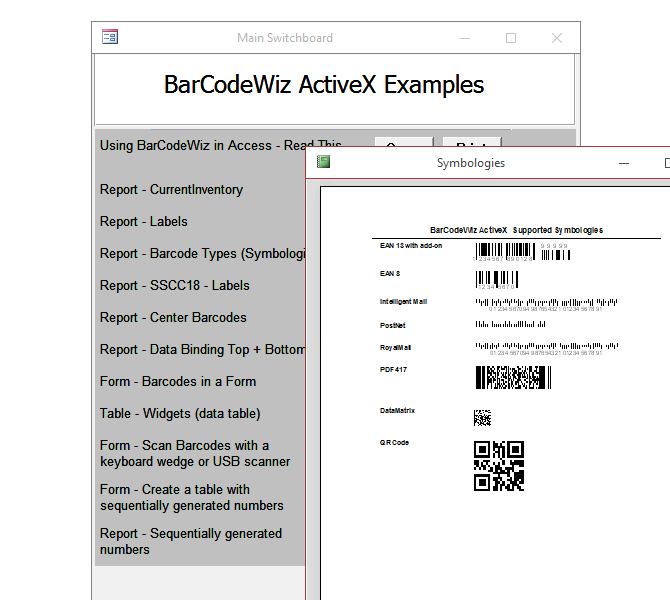
Want to see more Access examples with barcodes?
- BarCodeWiz ActiveX comes with a number of Access examples. See:
Documents\BarCodeWiz Examples\Barcode ActiveX Control\barcodewiz.mdb