-
-
- Install Barcode ActiveX Add-in in Excel
- Barcodes in MS Excel
- Create Sequential Barcode Labels in Excel
- Add Supplemental Text to Barcodes in Excel
- Extract Barcode Images from MS Excel
- Create Dynamic Barcodes Using LinkedCell in Excel
- Supplemental Text in Barcodes Using LinkedCell in Excel
- Barcodes in Excel with VBA
-
-
- BackColor
- BackStyle
- Barcode
- BarcodeColor
- BarcodeTextColor
- BarcodeTextFont
- BarcodeTextVisible
- BarcodeTextPosition
- BarcodeTextStretch
- BarHeight
- BearerBars
- BottomText
- BottomTextAlignment
- BottomTextColor
- BottomTextFont
- BottomTextVisible
- ControlAlignment
- ControlAutosize
- DataMatrixSize
- LinkedCell
- OptionalCheckChar
- Orientation
- OutlineColor
- OutlineStyle
- OutlineVisible
- OutlineWidth
- Padding Left/Top/Right/Bottom
- PDF417Columns
- PDF417ErrorCorrectionLevel
- PDF417RowHeight
- PDF417Truncated
- Picture
- QRCodeErrorCorrectionLevel
- QRCodeSize
- QuietZone Horizontal/Vertical
- Symbology
- TopText
- TopTextAlignment
- TopTextColor
- TopTextFont
- TopTextVisible
- UnitOfMeasure
- VerticalBarTextEntry
- WideToNarrowRatio
- XDimension
-
Barcode ActiveX Control
Extract Barcode Images from MS Excel
Extracting barcode images from Excel
- This tutorial shows how to extract all barcode images from an Excel file, possible in Excel 2007 or newer.
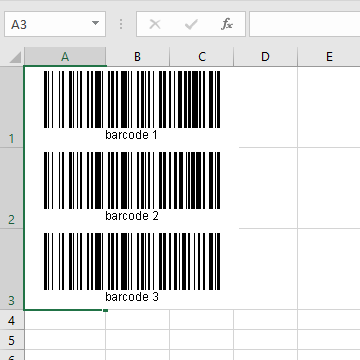
Step 1. Create or use existing barcodes
- Prepare barcodes using BarCodeWiz ActiveX Control Add-in.
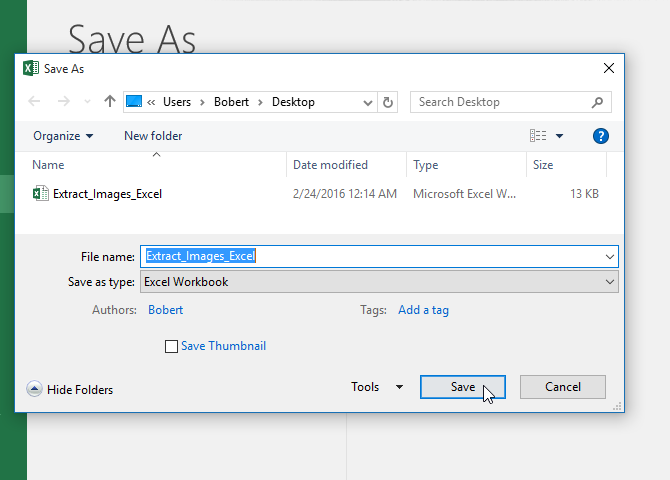
Step 2. Save the Excel workbook
- In this example, the workbook is saved on the windows desktop.
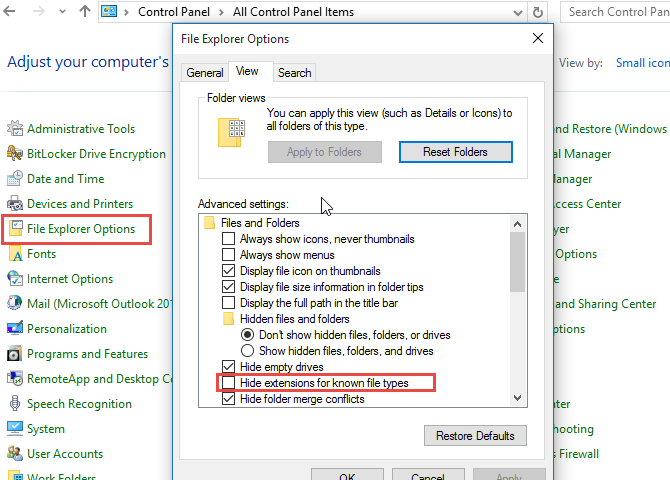
Step 3. Enable known extension types.
- By Default in Windows, file extension types are hidden.
- Navigate to the windows Control Panel, and select File Explorer Options.
- Under Advanced Settings uncheck Hide extensions for known file types.
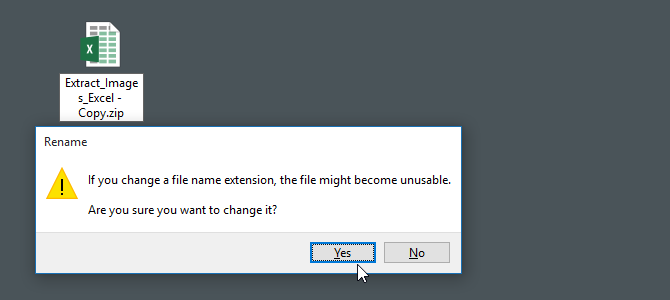
Step 4. Change .XLSX to .ZIP
- Edit the extension from .xlsx to .zip and press the ENTER key.

- Click Yes to rename.
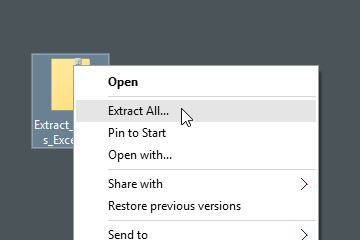
Step 5. Extract contents of ZIP file
- Right-click on the .zip file and select Extract All...
- For the purpose of this tutorial, the .zip is extracted to the Windows Desktop.
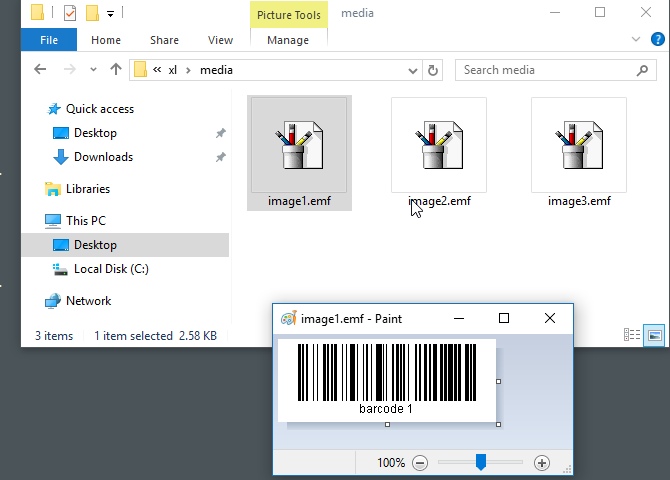
Step 6. Navigate to the image files
- The image files are located in the media folder of the extracted .zip.
- Refrence path: \\Extract_Images_Excel\xl\media